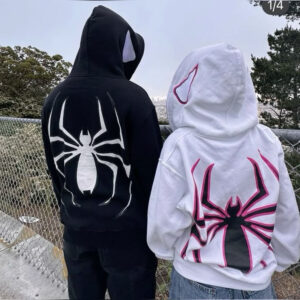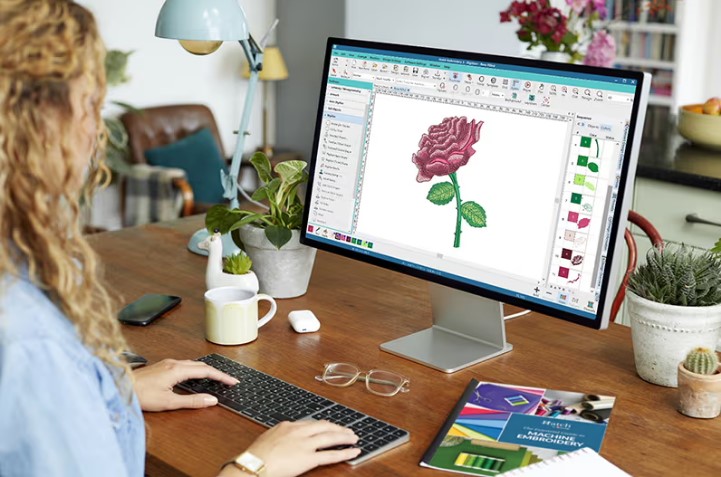
If you’re new to machine embroidery, you’ve probably heard the term Digitizing For Embroidery thrown around a lot and for good reason. Digitizing is the backbone of every clean, professional-looking embroidered design you see on hats, shirts, jackets, and uniforms. Without proper digitizing, even the best embroidery machine can’t deliver great results. In this guide, we’ll break down what embroidery digitizing actually is, how it works, and why it matters, all in a simple, casual, and easy-to-follow way.
What Is Digitizing for Embroidery?
Digitizing for embroidery is the process of converting artwork—such as logos, text, or illustrations into a digital embroidery file that an embroidery machine can read and stitch. Unlike regular images, embroidery files contain stitch-by-stitch instructions.
These instructions tell the machine:
- Which stitch type to use
- Where to place each stitch
- How dense the stitches should be
- When to change thread colors
- In what order the design should stitch
Think of digitizing as creating a roadmap for your embroidery machine.
Why Images Can’t Be Used Directly for Embroidery
One of the most common beginner mistakes is assuming you can upload a JPG or PNG directly into an embroidery machine. Unfortunately, it doesn’t work that way.
Images are made of pixels, while embroidery machines work with stitches. Digitizing bridges that gap by translating visual elements into stitch paths that machines understand. Without digitizing, the machine has no idea how to sew the design properly.
How Digitizing for Embroidery Works Step by Step
Understanding how digitizing works helps you appreciate why it’s such an important process.
1. Artwork Preparation
The first step is cleaning up the artwork. This may include removing backgrounds, simplifying shapes, adjusting colors, and fixing rough edges. Clean artwork leads to better embroidery.
2. Importing Artwork into Digitizing Software
Professional embroidery software like Wilcom, Hatch, or Pulse is used to manually create stitch paths. This is where the actual digitizing begins.
3. Assigning Stitch Types
Different parts of a design need different stitch types:
- Satin stitches for lettering and borders
- Fill stitches for larger areas
- Running stitches for fine details and outlines
Using the correct stitch type is essential for durability and appearance.
4. Setting Stitch Direction
Stitch direction controls how stitches flow across the fabric. Proper direction improves texture, shine, and stability while reducing fabric pull.
5. Adjusting Stitch Density and Underlay
Stitch density determines how close stitches are to each other. Underlay stitches provide a base that helps stabilize fabric and improve coverage.
6. Testing the Design
Before full production, a test stitch-out is done to ensure everything runs smoothly and looks correct on the actual fabric.
Common Stitch Types Used in Embroidery Digitizing
Understanding stitch types makes digitizing easier to grasp.
Satin Stitch
Best for text and narrow shapes, satin stitches give a smooth and glossy finish.
Fill Stitch
Used for large areas, fill stitches cover space evenly while maintaining flexibility.
Running Stitch
Ideal for outlines and fine details, running stitches are lightweight and clean.
Each stitch type plays a specific role in the final design.
How Fabric Affects Digitizing Decisions
Fabric type has a major impact on how a design should be digitized.
- Cotton is stable and easy to digitize
- Polyester may need adjusted density to avoid shine issues
- Stretch fabrics require special underlay to prevent distortion
- Caps and thick garments need stronger stabilization
Good digitizing always takes fabric into account.
Common Digitizing Mistakes Beginners Make
Avoiding these mistakes can save time and frustration.
Relying Too Much on Auto-Digitizing
Auto-digitizing tools can help, but they often produce poor stitch flow and uneven results.
Overloading Designs with Detail
Too much detail can cause stitches to overlap or disappear.
Ignoring Stitch Sequence
Poor sequencing leads to unnecessary trims, jumps, and thread breaks.
Why Quality Digitizing Improves Embroidery Results
High-quality digitizing improves:
- Stitch consistency
- Design durability
- Machine efficiency
- Overall visual appeal
Well-digitized designs look professional, last longer, and run smoothly on embroidery machines.
Who Needs Digitizing for Embroidery?
Digitizing is essential for:
- Embroidery businesses
- Clothing brands
- Promotional product companies
- Hobbyists using home embroidery machines
Anyone using a machine to embroider designs needs digitizing.
When to Outsource Embroidery Digitizing
If you’re working with complex logos, tight deadlines, or large orders, outsourcing digitizing is often the best choice. Professional digitizers understand stitch behavior, fabric interaction, and machine limitations.
Outsourcing ensures consistent, production-ready results without trial and error.
Final Thoughts
Now that you understand Digitizing For Embroidery and how it works, it’s easy to see why it’s such a critical part of the embroidery process. From artwork preparation to stitch direction and testing, every step plays a role in creating clean, professional designs.
For businesses and individuals who want high-quality digitizing without the hassle, many embroidery professionals trust Digitizing Buddy for accurate stitch placement, smooth machine performance, and reliable embroidery files every time.