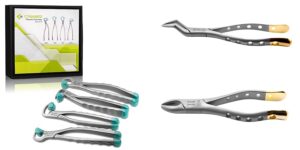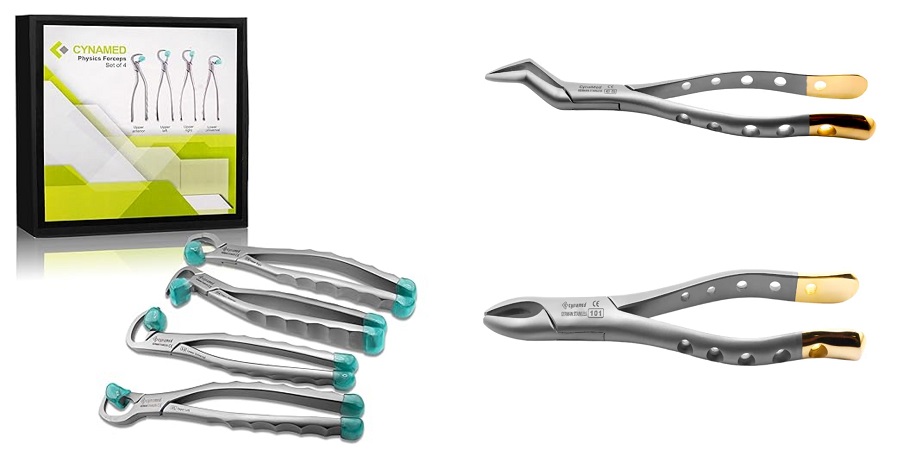
Few instruments are as familiar in a dental operatory as forceps, yet each pair is shaped with a specific job in mind. Extraction forceps in dentistry are designed to grip a tooth firmly, apply controlled force, and help the clinician remove it with as little trauma to surrounding tissue as possible.
Cynamedical supplies dental instruments, including extraction forceps. Whether you are equipping a new clinic or replacing worn instruments, it helps to understand how these tools work and why so many patterns exist. This guide covers the basics in plain language.
Key Parts of Extraction Forceps Dental Professionals Use
Every pair has three main parts: the handles, the hinge, and the beaks. The handles give the clinician leverage and control, and the hinge transfers force to the tooth. The beaks are the working end and the biggest difference between patterns, so extraction forceps dental practices stock vary mainly in beak shape.
Beak shape matters because roots differ. A single-rooted incisor needs a different grip than a molar with several roots. Beaks follow the neck of the tooth, and some have pointed tips that fit into the space between roots. A well-shaped beak holds securely without crushing the crown.
Handle angles differ too. Forceps for the upper jaw usually have handles in line with the beaks, while forceps for the lower jaw often have beaks set at an angle to the handles, which suits the way a clinician approaches the lower arch.
Matching Extraction Forceps in Dentistry to Each Tooth
Dentists commonly use separate patterns for upper and lower teeth, and for front teeth, premolars, and molars. Using extraction forceps in dentistry that match the tooth reduces slipping and helps spread force evenly. A pair shaped for an upper incisor is a poor fit for a lower molar.
Upper molar patterns often come in left and right versions, because the beaks are shaped for the roots on each side. Lower molar patterns, including the well-known cowhorn style, have pointed beaks designed to engage the space between roots. Root forceps and bayonet styles handle remaining roots and hard-to-reach teeth.
Treatment planning and imaging, not the instrument alone, determine the approach, and every case is different. Even so, having the right extraction forceps dental patterns on hand lets a clinician adapt when a case turns out to be more complex than expected, instead of improvising with a pair that is not shaped for the job.
Care, Sterilisation, and Safe Handling
Stainless steel instruments are made for repeated use, but only with proper reprocessing. Reprocessing routines for extraction forceps dental teams use daily start with prompt cleaning after each case, followed by sterilisation that follows the manufacturer’s instructions and the facility’s infection control protocol.
Inspect each pair regularly. Because extraction forceps in dentistry depend on a precise grip, look for worn or misaligned beaks, a loose or stiff hinge, and cracks or corrosion. Instruments that no longer grip firmly should be replaced, since a slipping instrument makes the procedure harder for everyone involved.
Choosing Instruments for Your Practice
Start by looking at the processes you will regularly perform within your practice. Include patterns to cover upper and lower teeth. The pair should have smooth operation, hinges, and good balance. They should also be compatible with the material and sterilisation methods.
If you have a reliable supplier, they should be able to clearly describe the products. Ask questions about sizing, patterns, and maintenance. Check out the Extracting Forceps category on Cynamed to see what patterns are available so you can find the best fit for your cases. Having the right set will make everyday processes smooth.
This is a small choice but will affect many processes you will do regularly. Having a clear understanding of the beak shapes, handle designs, and maintenance will help you create the best set to allow you to feel confident and efficient with the cases you have.